
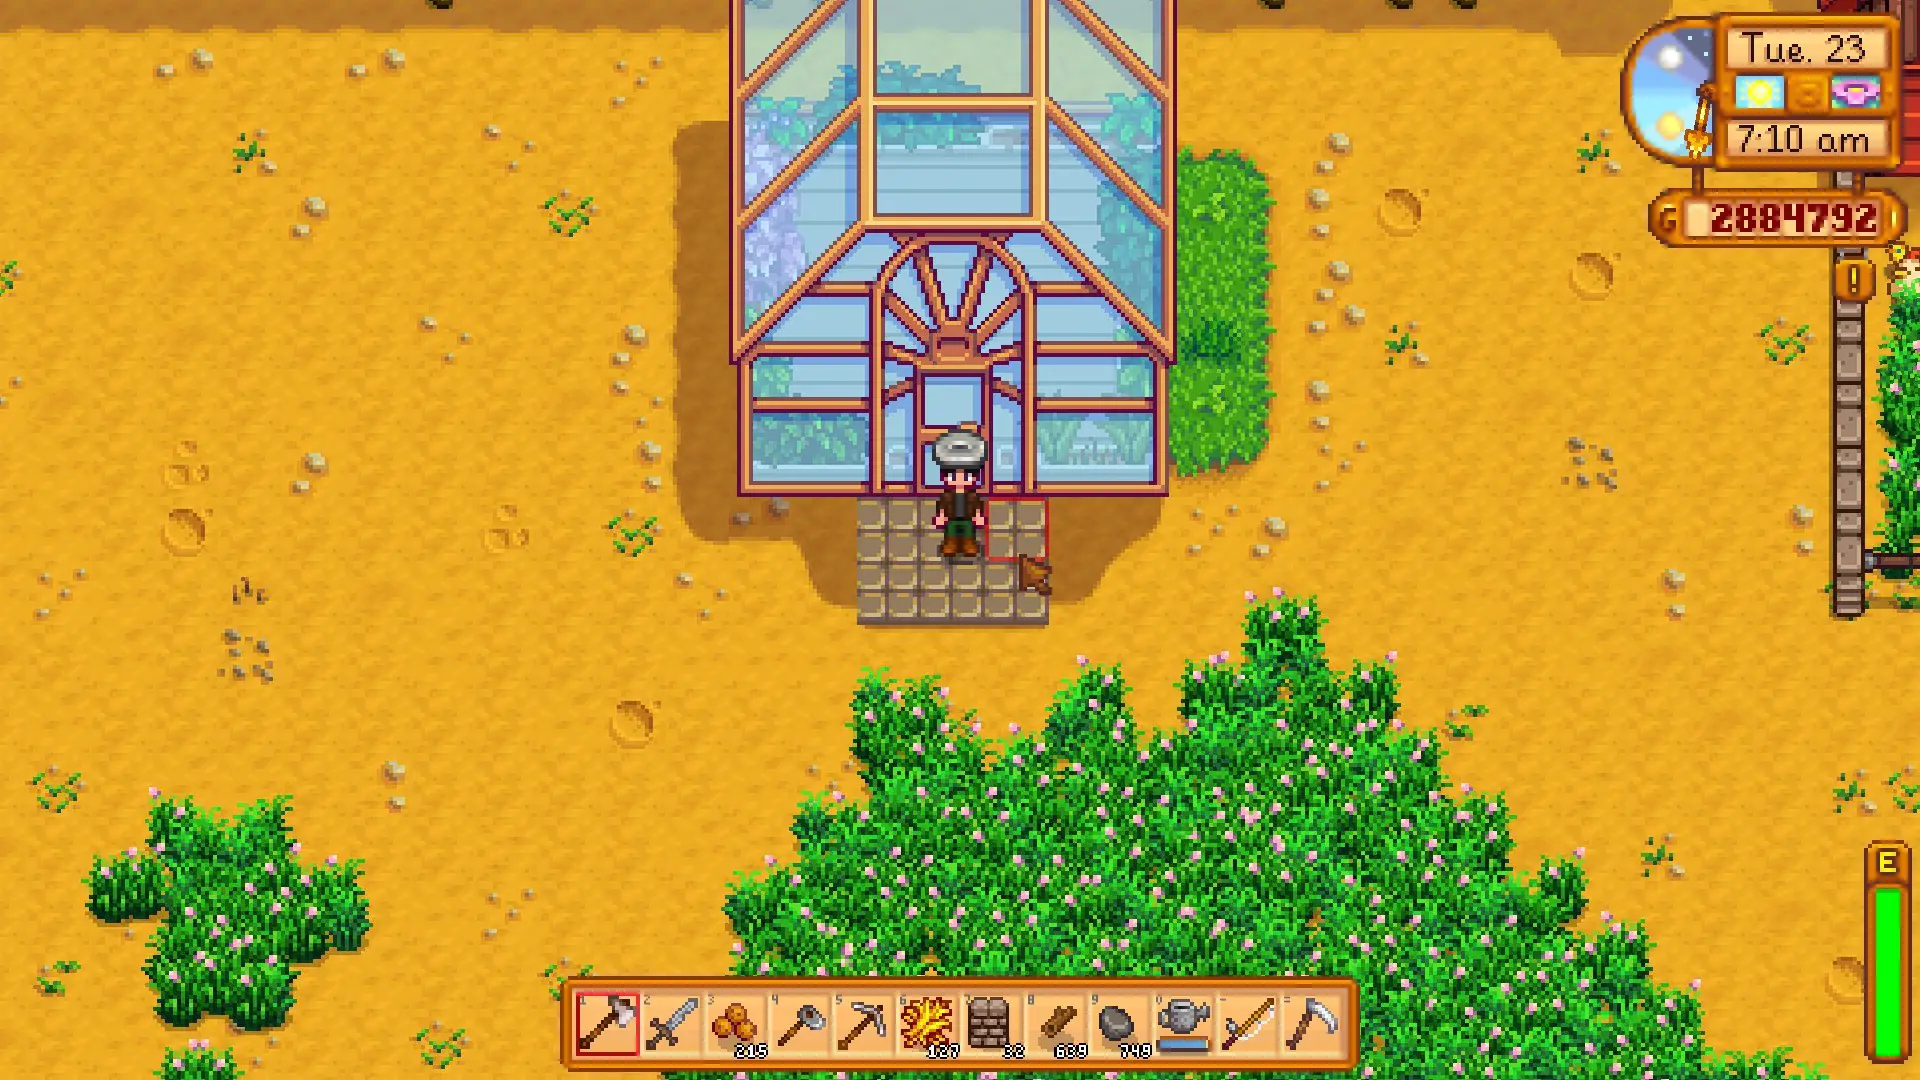
Once you’ve completed the Community Center (or used that blood money from Joja Corp), you can fix up the rundown shack on your farm and convert it into a usable greenhouse, along with the coveted iridium sprinklers.
The greenhouse allows you to grow plants year-round, including rare plants such as Ancient Fruit and Sweet Gem berries. As an added bonus, you can reap the benefits of the most profitable crops in any season.
The one downside? Watering all those crops. Yes, you could upgrade all the way up to an iridium watering can and use the best water-retaining fertilizer. Still, that’s minutes (in-game hours) of precious time better spent rearing animals or wooing a potential spouse in the village.
The answer?
An iridium sprinkler greenhouse!
Sprinklers water the plants for you in a small, cross-like area (one square on, above, below, and side-to-side of your plant). Iridium sprinklers can water your plants in an even larger area (5×5 or 24 tiles around).
How to Get Iridium Sprinklers:
There are three ways to obtain the iridium sprinkler:
- Crafting Iridium Sprinklers:
To craft an iridium sprinkler, you must earn a Farming Level of 9. You need three materials to create the sprinkler:
- 1 Gold Bar
- 1 Iridium Bar
- 1 Battery Pack
With this method, you can craft as many iridium sprinklers as you like. This choice is optimal if you’re looking to use many iridium sprinklers in the greenhouse.
- Where to buy Iridium Sprinklers:
Every Friday in The Sewers, Krobus sells one iridium sprinkler for 10,000g.
This also requires unlocking The Sewers by earning The Rusty Key. If you have the money and the patience, this method can save you the trouble of mining for minerals.
- Finding an Iridium Sprinkler:
Occasionally, you can find Iridium Sprinklers in the treasure rooms in Skull Cavern.
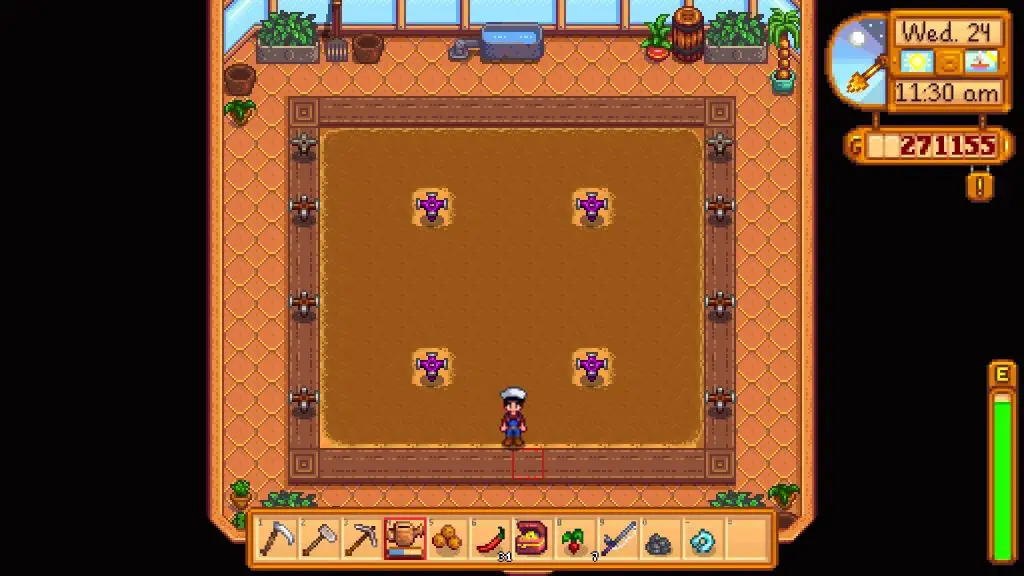
Iridium Sprinkler Layout Greenhouse
Once you’ve obtained an iridium sprinkler, there are a variety of layout options to choose from (depending on how many sprinklers of each type you have or want to use). You can also play with the layout of your crops to maximize the space used. Remember that sprinklers can only be placed on tilled soil tiles so you automatically lose one square of farming space.
A greenhouse that can automatically be watered will save you a lot of time better used for other accomplishments (maybe even those quests you didn’t have a chance to complete before). You don’t necessarily need a lot of iridium sprinklers to achieve your goal. Now that you know how to obtain your sprinklers, it’s time to get farming! Check out our layout tutorial to learn how to maximize your growing space.
You’ve renovated that greenhouse and got your iridium sprinkler. You’ve checked out the best crops to grow and are ready to make some sweet end-of-game moolah! The Greenhouse offers 120 squares for farming. Placing a sprinkler will always cost you a space, but, these tried and true layouts will maximize the bang for your buck.
Layout 1—Limited Iridium:
Alright so you don’t have the money for Clint’s expertise or you just don’t feel like fighting off another monster. This layout will have you covered.
What You Need:
- 4 Iridium Sprinklers
- 6 Quality Sprinklers
- 2 Sprinklers (Standard Quality)
Place the 4 iridium sprinklers inside the farmable land (without the sprinklers overlapping). Next, place the quality and standard sprinklers around the farmable land (with the two standard sprinklers in the uppermost corners).
Total Farmable Land: 116 Tiles
Layout 2—Infinite Iridium:
Okay, maybe not infinite, but you’ve worked hard for that iridium and you’re not afraid to use it! For a greenhouse that entirely runs on iridium sprinklers, check out this option.
What You Need:
- 6 Iridium Sprinklers (Just 6!)
Place 4 inside the farmable land just as you would with option 1. Instead of adding the other sprinklers around the border, however, place two iridium sprinklers on the left outside edge. This means you still only lose 4 tile spaces!
Total Farmable Land: 116 Tiles

Layout 3—Feelin’ Fruity:
Looking to really savor the fruits of your labor? This glitch was actually reintroduced back into the game because it was so popular with players.
What You Need:
- 6 Iridium Sprinklers (4 to start)
- 18 fruit trees (any type)
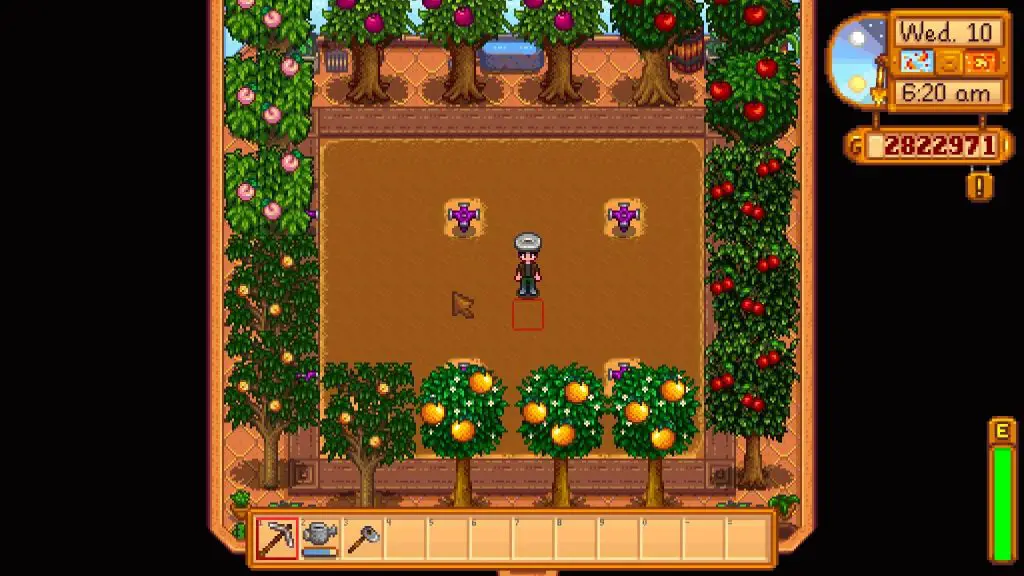
The key to fruit trees is allowing them to fully grow before placing more sprinklers around them. Fruit trees need 3 squares total to mature. After 28 days, however, they no longer require the extra space to bear fruit.
Plant 5 trees on the left and right of the farmable area and 4 on the top and bottom. Place the 4 iridium sprinklers in the farmable land as usual. Allow the trees to blossom to their full potential and—voilà—you can now place the other 2 sprinklers as you did in the previous layout.
Total Farmable Land: 116 Tiles (Plus 18 fruit trees!)
These are the top 3 layouts used by most players to maximize your greenhouse farming profits. The Fruit Tree layout is the most desirable simply due to the amount of crop you can harvest. However, you can always start with the first layout and work your way up! Of course, choose whichever option allows you to enjoy the game to its fullest. After all, Stardew Valley is about immersing yourself in a town rich with opportunity. And what price can you put on opportunity?